
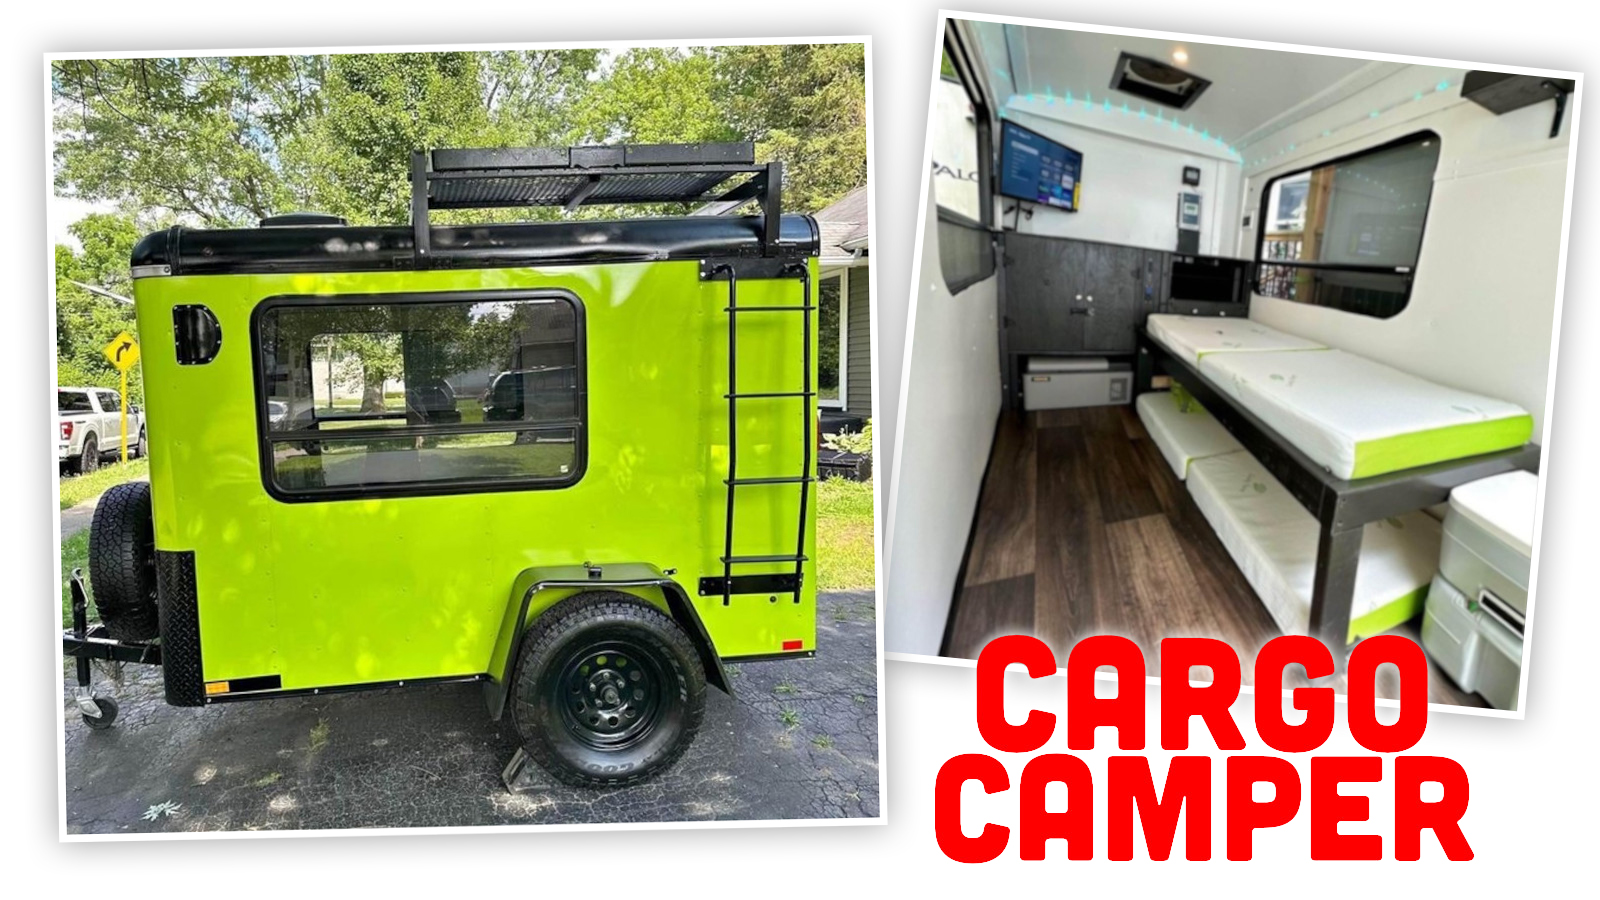
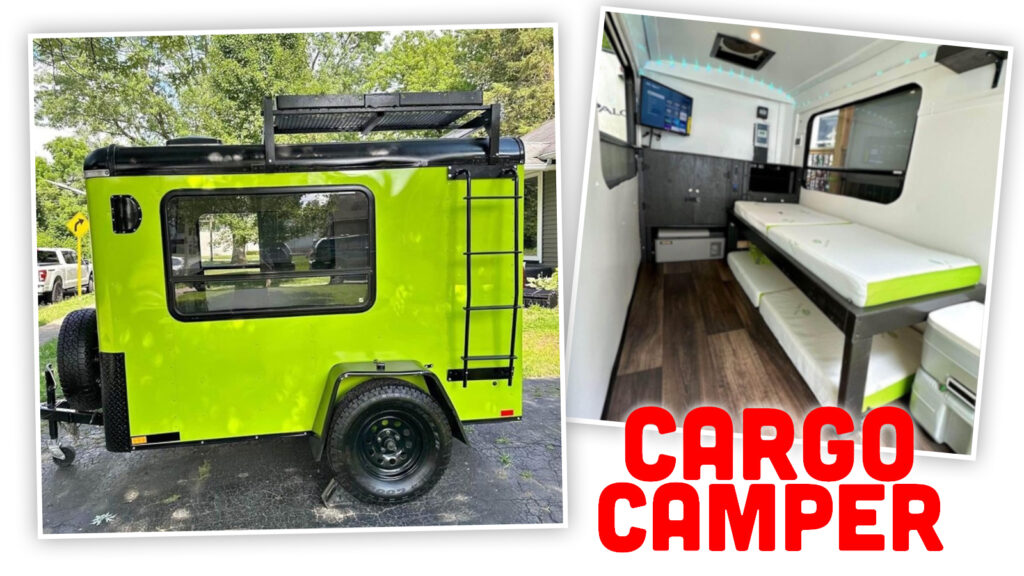
Turning a Cargo Trailer into Your Dream Camper: A DIY Adventure
Have you ever gazed at a neglected cargo trailer on your property and thought, “I can transform this into a cozy camper”? Well, the good news is that you absolutely can. Converting a cargo trailer into a camper might seem daunting at first, especially for beginners, but with a bit of planning and some elbow grease, you can create your own mobile oasis. In this comprehensive guide, we’ll walk you through the steps, offering personal insights and practical tips to make your camper conversion project a success.
What You’ll Need: Crafting Your Checklist
Before diving into the nitty-gritty of the conversion process, it’s crucial to create a checklist. This will be your roadmap, ensuring you don’t overlook any essential items. While individual needs may vary, prioritize key elements such as insulation, electricity, toilet facilities, and living quarters.
Cargo Trailer Conversion Plans: Dreaming Up Your Space
Begin by asking yourself important questions to shape your camper conversion plans. How many people will be living in the camper? What cooking setup suits your lifestyle? Is this a permanent living space or for occasional getaways? Considering these factors will help you set priorities for your project.
Insulation: Creating a Cozy Haven
Insulation is a critical component for comfort in your camper. Options range from budget-friendly caulking to more expensive window and door installations. Be meticulous in sealing exterior compartments to prevent heat leakage, which can lead to discomfort and equipment issues. Foam panels or spray foam are cost-effective choices, but investing in fiberglass can offer superior insulation.
Electricity: Powering Up Your Adventure
For electricity, a 12-volt battery connected to an inverter is a common choice. However, decide whether you want to harness power from solar panels or a lithium RV battery. While solar panels provide an eco-friendly solution, they can be pricey. On the flip side, a lithium battery is more budget-friendly but requires a spare to avoid energy shortages.
Plumbing System: Bringing Water Onboard
The plumbing system in your converted cargo trailer typically covers the kitchen and toilet. Choose from a variety of RV faucets and sinks for the kitchen, considering both functionality and cost. When it comes to toilets, decide between a porta-potty or a compost toilet based on available space. A smaller trailer might benefit from the space-saving design of a porta-potty, while a larger one could accommodate a compost toilet.
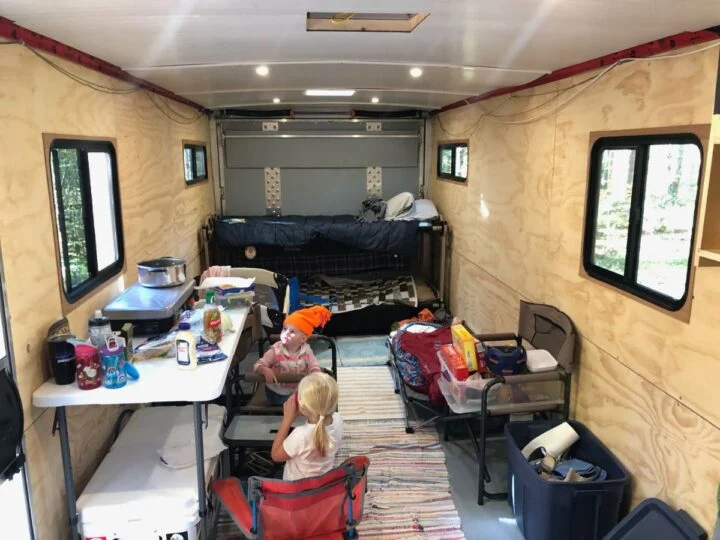
Living Amenities: Crafting Comfort
Make your camper feel like home by adding comfort features. A futon mattress is a reasonably priced option for a bed, or you can splurge on a platform bed for added luxury. Cabinets, chairs, and tables can be bought new or sourced second-hand to fit your budget. If you’re feeling adventurous, try your hand at DIY furniture.
Step-By-Step Instructions: Bringing Your Vision to Life
With your checklist in hand and a clear vision of your camper, it’s time to dive into the step-by-step instructions.
Step 1: Remove the Walls
Cargo trailers typically come with plywood walls that need to be removed for insulation installation. Use a claw hammer or your sheer strength to take down the plywood, making way for a more comfortable interior.
Step 2: Make Holes in the Windows
If your cargo trailer lacks windows, cut holes for them, ensuring they match the dimensions of your chosen windows. Use a jigsaw to make precise cuts, and seal the edges with caulking or flexible sealant for weatherproofing.
Step 3: Install the Electrical System
Installing the electrical system may seem daunting, but it’s more straightforward than it appears. Connect the wires to the correct outlets to ensure a smooth flow of electricity throughout the vehicle.
Step 4: Add the Plumbing
Given the low clearance of many cargo trailers, adding water tanks underneath can be challenging. A practical solution is to install 6-gallon water jugs inside the vehicle and connect them to a pumping station. This setup simplifies water provision for appliances and devices in the camper.
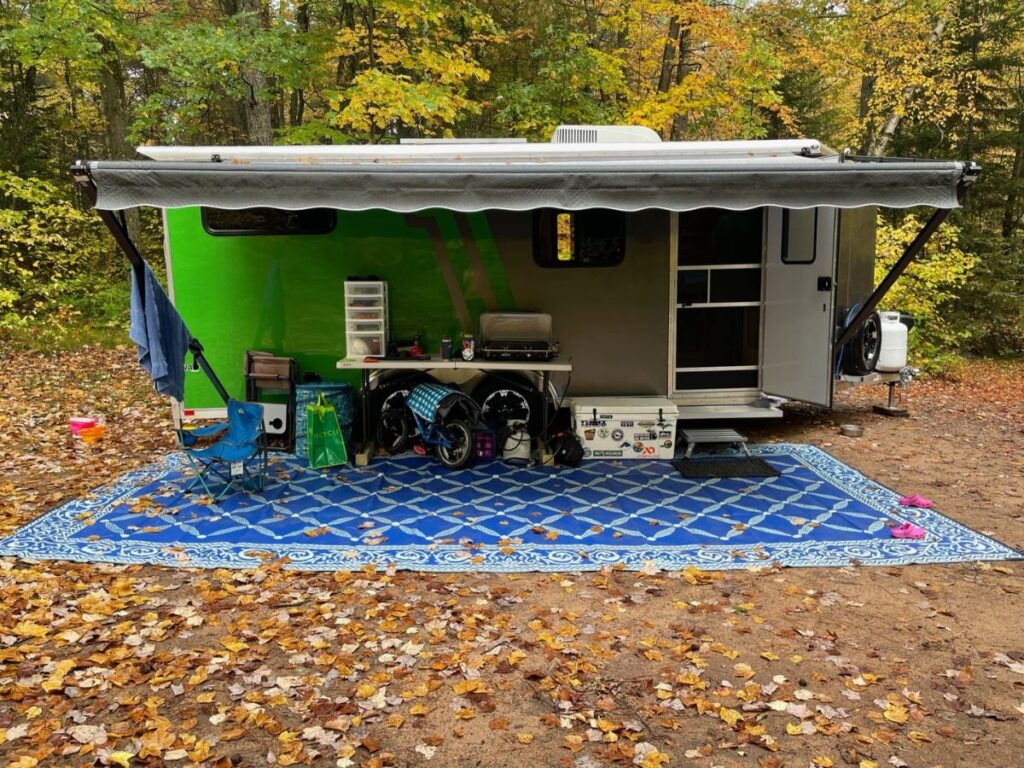
Step 5: Build the Kitchen
Start by installing kitchen cabinets and then incorporate your chosen kitchen appliances. A stove, oven, exhaust fan, and coffee maker can transform your camper kitchen into a functional and inviting space. Consider storable options to maximize the limited space, such as a foldable cooktop.
Step 6: Place the Bed
Follow your plans to ensure the bed fits snugly inside the camper. A foldable bed, like a sofa bed, can be a smart choice, providing both seating and sleeping areas without sacrificing space.
Conclusion: Celebrating Your DIY Success
Congratulations on reaching the end of this guide! Converting a cargo trailer into a camper is a rewarding journey that requires patience and creativity. Share this article with friends and family who might embark on a similar adventure, and don’t forget to share your thoughts in the comments.
Remember, Rome wasn’t built in a day, and your dream camper won’t be either. Take your time, follow your plans, and savor the process. Rushing may lead to costly mistakes, so enjoy the transformation of your cargo trailer into a personalized haven on wheels. Happy trails!