
Revamp Your RV: A Beginner’s Guide to Painting the Exterior
If you’re an avid RVer looking to breathe new life into your motorhome, camper, or travel trailer, a fresh coat of paint might be just the thing to give it a vibrant makeover. For beginners, the prospect of painting an RV might seem daunting, but fear not—this step-by-step guide will walk you through the process, ensuring a smooth and successful exterior paint job.
What You’ll Need
Before embarking on your RV painting adventure, gather the essential tools and materials to avoid interruptions during the project. Here’s a checklist to get you started:
- Cleaning Items:
- Automotive sponge
- Microfiber mitts
- Denatured alcohol
- Surface Smoothening:
- Palm sander or fine-grit sandpaper
- Protective Measures:
- Painter’s tape
- Priming:
- Primer (oil-based or water-based)
- Application Tools:
- Paintbrush or paint sprayer
- Color Palette:
- RV exterior paint in your chosen colors
- Finishing Touch:
- RV wax
6 Steps to Paint Your RV Exterior
Step 1: Remove the Current Graphics
Begin by using a palm sander or fine-grit sandpaper to eliminate the existing paint and decals on your RV’s surface. This step ensures a smooth canvas for the new paint. Follow up by using denatured alcohol to remove any remaining grease or adhesive. Be cautious with the alcohol to avoid damage to certain RV materials, especially fiberglass.

Step 2: Clean the RV
Give your RV a thorough cleaning with a soapy warm water mixture, using an automotive sponge or microfiber mitts. Consider renting a pressure cleaner for added efficiency, but be mindful of the water pressure to prevent denting. If applicable, use a stepladder to reach and clean the roof.
Step 3: Apply Painter’s Tape
Once the RV is completely dry, use painter’s tape to cover areas you don’t want to paint. Unlike conventional masking tape, painter’s tape leaves no residue upon removal and ensures a clean finish. Press down on the tape firmly to create a proper seal.
Step 4: Apply Primer
Use a bonding primer to provide a consistent base for the paint. This step is crucial to prevent bubbles, cracks, and premature paint removal due to exposure to the elements. You can choose between oil-based and water-based primers, or opt for paint-and-primer products, though the latter is often more expensive.
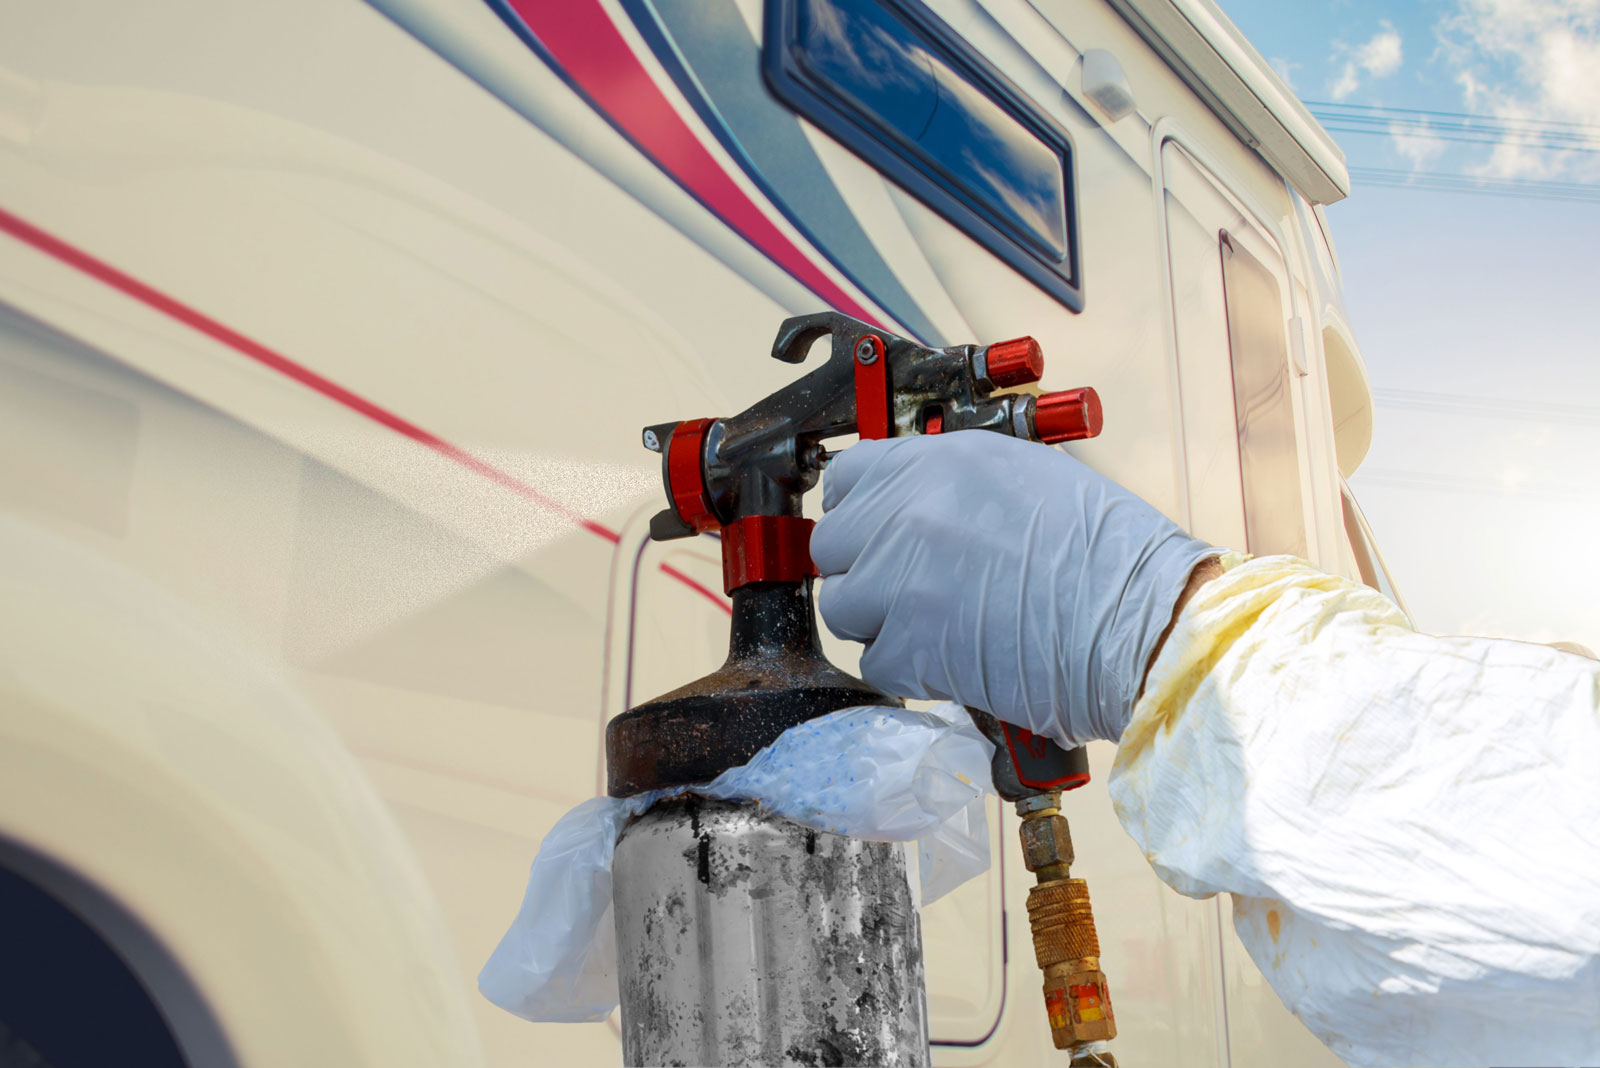
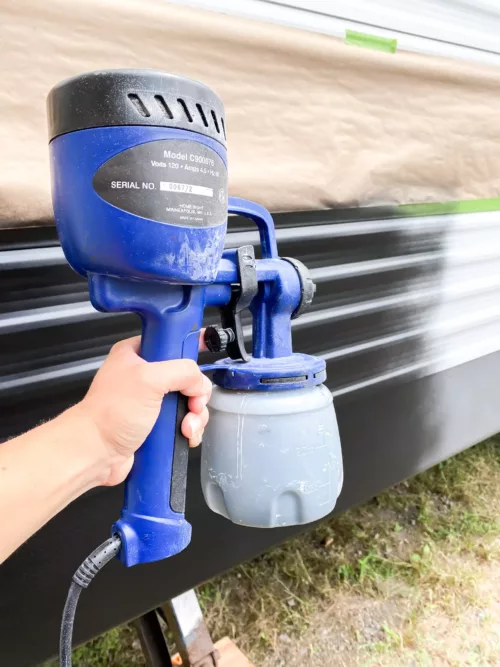
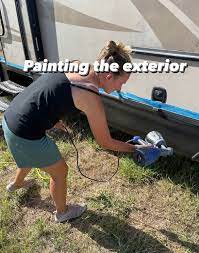
Step 5: Apply the Coats of Paint
Choose your desired RV exterior paint colors and apply them in long, fluid motions to avoid streaks and drips. If you’re applying multiple coats, ensure each layer dries completely before adding the next. Waiting approximately a day between coats should yield an even finish.
Step 6: Finish Up
After the final coat of paint has dried, complete the project by applying a coat of RV wax. Starting from the roof and working your way down, use a long-handled soft brush to reach challenging areas. This final touch not only seals the paint but also adds a protective layer for your newly painted RV.
Conclusion: Reflecting Your Style on the Road
Embarking on the journey of painting your RV can be a rewarding experience, transforming your vehicle into a unique reflection of your style. Remember, patience is key during each step of the process. Rushing may lead to costly mistakes that could have been avoided.
Share your RV painting experiences and tips in the comments below. Your insights might just be the inspiration or guidance someone needs for their own RV makeover. Happy painting!